Tuesday, January 31, 2017

Cross my heart!


It is time for another challenge over at Retro Rubber Blog Challenge, and in honor of our next holiday let us see your creations that use hearts!


I had a blast making this card that went together very quickly, a clean and simple design using the same stamp in two different ways!


I used Hero Arts “Yes” set from 2014 to stamp the love you heart in a pattern on white cardstock in Brilliance Starlight Silver.  I stamped the image again in Brilliance Rocket Red and heat embossed it with clear embossing powder before I die cut the image.  The Brilliance Rocket Red is inked around the edges of the card base with an Ink Blusher and heat embossed with clear embossing powder.  I did one edge at a time to avoid blowing embossing powder all over my table!  I used my trusty Bows-It-All V.2 to tie a double looped bow with a back ribbon to tie to the front of the card.  I think the sheer silver ribbon really adds the right touch to the quick card.  The layers are adhered together with dimensional foam adhesive. 

Thanks for stopping by and do check out the rest of the creations from the Design Team over at Retro Rubber.  


I would like to enter this card in the following challenges:

Friday, January 27, 2017

Heartbeats Anniversary

This fun card is featured on the Imagine Blog today!  Our challenge in the month of January was to use Light Wintergreen in our project, here is my contribution!


I am very blessed to be married to my husband, and found the perfect sentiments to create a wonderful anniversary card.  A few months back Imagine and CAS-ual Fridays Stamps conducted a blog hop and it was an opportunity to get to know this fun stamp line.  There were so many sentiments in the Big Treble and Love Notes sets that I couldn’t resist creating a background with Kaleidacolor ink on glossy cardstock. To continue the color theme of light wintergreen mint the vellum is brayered on the back with the same Kaleidacolor.  To top it off, the Heartbeats and Happy Anniversary images were stamped in VersaFine Majestic Blue and heat embossed with Iridescent Embossing Powder to give it just a bit of glimmer and shine.   I think it makes for a masculine looking card with just the right sentiment!

Imagine:

Other:
CAS-ual Fridays Stamps--Heartbeats, Love Notes 
Glossy White Card Stock
Vellum
Brayer
Heat Gun
Fiber or ribbon
Hole punch


Thursday, January 19, 2017

2017 go 'round!


What better way to celebrate new beginning than to have a mini calendar to grace your desk?  I had a blast creating this desk calendar with a bit of old world feel to remind us that we are riding our planet for another go ‘round of the sun! Don’t have mini calendars available?  Print one from the web and cut it down to size!  Delicata in various colors along with Memento covered with VersaMark in Dazzle and embossing powder really make this desk accessory sparkle and shine.

Imagine

Other
Altenew Big World Stamp and Die set
Hero Arts Serendipity Letters & Numbers stamp set
Spellbinders—Grand Labels Eleven, Fancy Tags
Cuttlebug Damask Brocade embossing folder
Cardstock—Kraft, cream, and white
Computer generated mini calendar
Quick dry glue
Dimensional foam adhesive

Tuesday, January 17, 2017

Let It Snow!


I don’t know about you, but we have had plenty of the white stuff this winter . . . so here is a card celebrating the theme for Retro Rubber Blog Challenge of “Let It Snow!”


I love how easy it is to make a shaker card with the Impression Obsession Shake It windows!  Fortunately for me, my chosen Snowman image by Hampton Art from 2015 was the perfect size for the shaker window.  First I die cut the snowman from glossy cardstock, laid the stamp over the top and applied the acrylic block so I could get a perfect impression.  He is stamped with StazOn Jet Black and then colored with Chameleon pens in OR4 Seville Orange, BR5 Bark, RD4 Crimson Red, and BK3 Deep Black.  I was careful to not smear the StazOn ink when I colored in the image.  Next trimmed white cardstock to 3 ¾” x 5” and die cut a circle in the lower middle for the window to poke through.  Then I pressure embossed it with Cuttlebug Snowflakes embossing folder and gently applied Brilliance Pearlescent Sky Blue directly to the raised snowflakes.  Using an ink dauber, I added more Brilliance Pearlescent Sky Blue around the perimeter of the base card.  The Brilliance Pearlescent Sky Blue ink is heat embossed with clear embossing powder.I used the circle from my die cut to stamp the rest of the scene with the snow flurry and sentiment and then adhered the snowman with dimension foam adhesive. I put a bit of faux snow inside the shaker window and adhered everything together.

Please do join the fun and share your Let It Snow project with us at Retro Rubber!  Thanks for stopping by and have a little creative fun!


I would like the enter the following challenges:

Wednesday, January 11, 2017

Season's Giving Blog Hop Winner!


I am so honored by the comments and the goals that everyone has set for themselves in the coming year.  Many would like to be more organized, others want to learn a new technique, others simply want to get their cards out on time!  I can relate to all of those goals.  What is important to remember is this is our hobby, our pastime, our time to enjoy ourselves!  Spend your time in a way that makes you happy!  With that said I have been having fun with some of my newer stamps and purchases made on Black Friday and have several sets of cards prepared for challenges and to be sent off for consideration to be published. 

Disguised a bit


Now without further ado announcing the winner of the Season’s Giving blog hop, drum roll please . . . . . !

Gail Scott:  I am overwhelmed with this lovely prize package to be one! I think your art is worth getting published for sure -beautiful display of items here - I plan to provide supplies and demo card making at a local senior home where I work - I brought in a ton of Christmas cards and I was asked if I would demo a class for the seniors - I feel honored and blessed to do this - I also plan to stay ahead of the game this year in creating every day and getting more Christmas cards done for the center as well - blessings and Happy New Year!

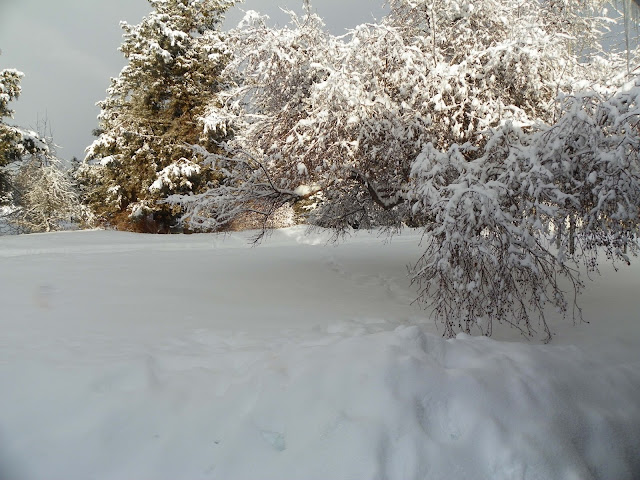
Gail is a new follower (thank you!) and has responded with her snail mail address.  Her package is now on its way and should arrive soon!  It is one of the errands that I ran on a very snowy day yesterday!  Here in Central Oregon we are breaking records for snowfall!  We started back in December and it hasn’t melted!  Usually it melts and then snows again, not this year!  We were able to purchase one of the few 2 stage snow blowers left in the area last week before the heavy snowfall.  Our school district has already used 5 snow days, which means the kiddos will have an extended school year in the spring!


Enjoy!

Sunday, January 8, 2017

A place to put your to do list!


My first project of 2017 for Imagine as an Artist in Residence is live on the Imagine blog today! The New Year reminds us of goals we would like to set for ourselves each year.  One way to reach those goals is to break them done into little chunks, and a “To Do List” is a perfect way to get started.  I often make lists and sometimes they get lost on my counter, so I choose to make a 7” x 9 ½” mini-clipboard to secure my list.  The bright colors inspire me to get the items on the list done!  Stop by the Imagine blog and see how I created this handy clipboard!