Tuesday, June 30, 2015

Retro Rubber Blog Challenge 17 Reminder


We are to the half-way point of the two week challenge and we invite you to join the fun over at Retro Rubber Blog Challenge for our Patriotic or 4th of July theme.


The rules are really simple!  Play along with the theme using rubber stamps that you have owned for at least a year.  We love hearing about your retro rubber and why it is fun to dig it out for our challenge them at Retro Rubber Blog Challenge.  You have until July 3rd to link up your new creation!

Wednesday, June 24, 2015

By the Seashore at Ruby's Rainbow Challenges


I am pleased to announce that I am now on the design team for Ruby’s Rainbow Challenges.  Our challenge for the next fortnight is By the Seashore.  Come play along and enter your project by July 8th.  Stop by the blog and check out what the DT have created to inspire you!


This card features an image of an iconic Oregon Coast landmark, Haystack Rock at Cannon Beach.  It is an amazing monolith very close to the shoreline.  I believe the image is from Stamp Cabana.  The front images are by Art Impressions.  I used a stamp positioner and masking technique shown in this blog post, Tie It on Birthday Card

The images are stamped in Tsukineko StazOn Jet Black on white card stock and then colored with a variety of Rexel Derwent Watercolor pencils: Dark Violet, Crimson Lake, Orange Chrome, Deep Cadmium, Golden Brown, Cooper Beech, and Brown Ochre.  The Niji water pen does a great job blending and finishing the watercolor technique.

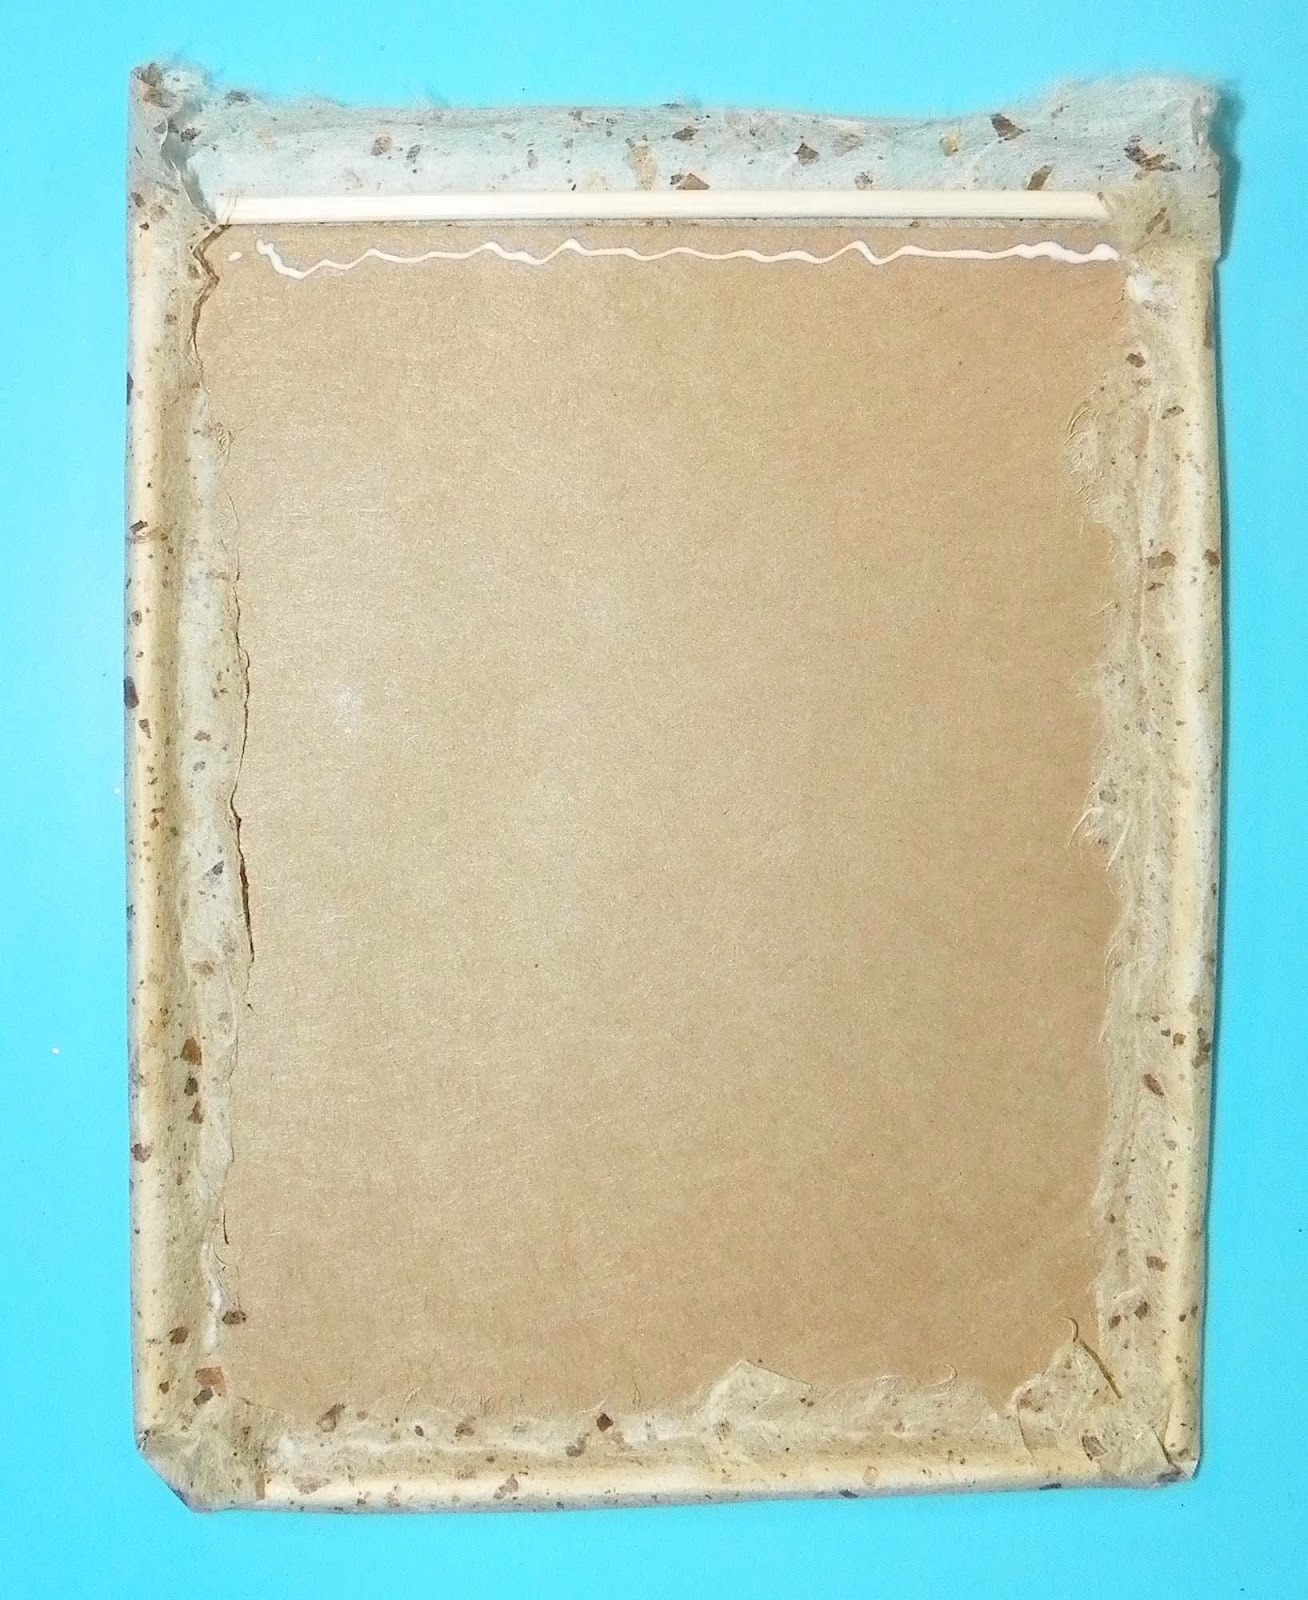
The frame is brown molted Mulberry Paper that I have had in my stash for at least 15 years, but perfect for this card!  To get a rolled edge I used wooden skewers from the kitchen trimmed to fit inside the frame.  The Mulberry paper is adhered to Kraft cardstock.  The edges were adhered with Art Institute Dries Clear Adhesive.  Just a thin line goes a long way!  The outer frame is white card stock colored with Rexel Derwent Watercolor pencils to match the interior scene and extend the idea of a sunset at the seashore.   The layers are attached to a Kraft card stock base.

Creating the rolled edge frame
I hope that this has inspired you to make your own By the Seashore project and join us over at Ruby’s Rainbow Challenges!

Tuesday, June 23, 2015

USA Patriotic Card for Retro Rubber Blog Challenge #17


Our challenge for the next two weeks over at Retro Rubber Blog Challenge is a Patriotic theme.  


This is one of the few categories that I have limited choices for Retro Rubber images.  Fortunately I do have this retired set from Technique Tuesday that was perfect for this challenge. 


The flag image from the “Made in USA” was best stamped in the coloring technique directly on the stamp.  I colored each of the sections with Memento Markers in Rich Cocoa, Cantaloupe, Lady Bug, and Paris Dusk.  By breathing on the stamp surface I reactivated the ink before stamping.  By referring the black image you can determine how to color directly on the stamp surface.  The image was stamped on a 2 ¼” square, with the backing squares in 2 ½” and 2 ¾”.  The white and red card stock were inked on the edges with Tsukineko Versa Magic Night Sky. 

The blue card stock was trimmed to 4 ¼’ x 5 ½” (A2 size) and pressure embossed with Darice Stars Assorted.  The raised portions were inked with Tsukineko Versa Magic Cloud White.  Red card stock was trimmed to 1 3/8” x 5 ½”.   Two of the images from the set were lined up and stamped in Tsukineko Versa Magic Night Sky.  The first image was lined up from the top then the second right below.  The bottom image was stamped next with the fourth just above it.  The edges were inked as well.  The layers were adhered to a white card stock A2 base.  The central image is adhered with dimensional foam adhesive. 

Plus come on by and share your Patriotic themed project over at Retro Rubber Blog Challenge.  

I would like to enter my card in the following challenges: 

Saturday, June 20, 2015

Father's Day Card


The final Father’s Day card of the season is for my husband.  I started with the very fun sketch from Pals Paper Arts, which is clean and simple.


I searched out a few scraps from my color bins and found brown card stock with a white core made by SEI.  The patterned paper is Dream Street Papers, Jack collection.  I also had a bit of ribbon left from cards several years ago that was perfect with this combination.  


I wanted a bit of texture in the background, but also wanted the sentiment on the bottom corner of the card.  I’ve had the Darice Easy Frames for a while and this was a perfect opportunity to use a frame for the sentiment area.  The frame is placed on the outside the embossing folder and held in place with removable tape before running the sandwich through the Cuttlebug.  The embossing folder is Diamonds in Diamonds by Sizzix.  The surface was sanded to bring on the dimension of the embossed areas.  The sentiment is a Studio G image stamped in Tsukinkeo Versa Magic Cloud White and heat embossed with white embossing power.

The flags are hand-cut and are adhered to the textured layer with dimensional foam adhesive.  The ribbon is adhered and the ends are wrapped around the back of the brown card stock before adhering it to the white A2 sized card base.   

Since it is Father’s Day I would like to enter this card in the following challenges:

Wednesday, June 17, 2015

Test of Time Father’s Day Card


This is the second of three cards I will make this year.  I once again used the Heartfelt Creation’s Everyday Heroes.


The background stamp “My Hero” is stamped in Tsukineko StazOn Saddle Brown.  It is colored with Rexel Derwent Watercolor Venetian Red and Deep Cadmium.    Then I blended the colors with a Niji Water Brush.  The laces and seams in the boots didn’t seem to stand out enough so out came the Zig marker in Pure Brown to color in these areas.  I fussy cut both the watch face and the boots.  The die cut edge is Spellbinders Classic Decorative Inserts Two.   To get just the length with out cutting farther on the card I used a piece of removable tape to mark where I wanted the die cut to stop (sorry no photos, it was late!)  then placed this right on the edge of the cutting platforms.  I was glad it worked so neatly!  I selected a few complementary colors from the Everyday Heroes paper set and layered the card together.  The fussy cut images are adhered with dimensional foam adhesive as it the top sentiment layer.  

I would like to enter this card in the following challenges:


Tuesday, June 16, 2015

Birthday Wishes Card


It has been a busy card-making month!  Graduations, weddings, anniversaries, Father’s Day and family birthdays have all been topics for the month of June.  Today I am sharing a card I made for my fabulous sister.


I started with the sketch over at Sketch Saturday and played with a few other challenges to keep my crafting mojo going strong. 

All of the papers and card stock came from a layout scrap kit that I kept together from this layout, Fashion Statement or Yes I had to scrap this!  I stamped the Hero Arts sentiment from the “It’s Your Day” set onto the yellow card stock with Tsukineko Memento Luxe Sweet Plum and heat embossing it with clear embossing powder.  To get an idea of placement I lightly traced the exterior of the die onto the card stock.   Spellbinders Labels 9 and Want 2 Scrap Nestabling worked perfectly for the stacked sentiment on magenta card stock.  Spellbinders Nested Pennants die cut the two layers of pennants from patterned paper and magenta card stock.

The next layer is the yellow card stock pressure embossed with Darice’s Large Petal Background.  After sanding the card stock I chalked the different embossed flowers and swirls with EK Success Craft Chalk.  I really like this effect as it is not something I have tried before.  To not over power the overall design elements I decided to use the netting as the sketch element.  The card is backed with purple card stock.  The finishing touch is a stacked set of Prima flowers along with a bling center.  The card base is white card stock.

I would like to enter this card in the following challenges:
Make It Monday Embossing I used both heat and dry
Creative Artist Challenge Bingo row (Bling, Embossing, Free Space, Chalk, Purple)  To be honest this was my inspiration for using the chalk on the pressure embossing.

Monday, June 15, 2015

My World Father's Day Card


It is time to create and send Father’s Day cards.  This is the first of three I will make this year.  I recently purchased The Everyday Heroes I want It All set, and felt like I could put it to great use for Father’s Day cards.  


The background stamp for this card is “My World” and it is stamped on cream card stock with Tsukineko StazOn Black.  I colored it with Rexel Derwent Watercolor pencils in Smalt Blue, Brown Ocher, and Sap Green.  Then I blended the colors with a Niji Water Brush.  The water brush is so easy to use and put the water to blend right where you want it.  Just a slight squeeze and there is water at the tip to blend.   The edges were torn using the Plaid Deckle Edge ruler.  I selected a few complementary colors from the Everyday Heroes paper set and torn the edges as well.  All the torn edges are inked with Tsukineko StazOn Saddle Brown.  An ornate die from the set was left over from another project so it was cut in half and adhered in with the layers of paper.    

Two more of the globe portions of the image were also stamped and colored then die cut using the Everyday Heroes die set.  Just the globe from one was trimmed and the second was left complete.  An ornate die from the set was also die cut.   I shaped the globe portion with McGill tool set.  The globe was adhered with dimensional foam in the center and Dries Clear adhesive around the edges.

This was a quick and fun card to put together.  It may not be considered CAS, but it was simple to put together using the Everyday Heroes set.

I would like to enter this card in the following challenges:


It is wonderful that this card was selected as a Design Team Favorite for TWO challenges!
Thank you!
Eureka Stamps #145 Father’s Day
Amusing Challenges Father’s Day

Sunday, June 14, 2015

Anything But a Card Challenge #48, Out and About


We have a very fun challenge this month at Anything But a Card, Out and About.  I was inspired by the nature right out my front door.  I have a wonderful wild rose bush in my yard that smells lovely in the mornings and evenings.  This time of year I also have a perennial, which I think, is a type of Blue Phlox, but I am not sure.  Every morning the blooms at the ends blossom, and by evening the petals have all fallen off.  If the wind blows they do not last the day!   

Here are a few photos that inspired me to make my project, a flower wreathe.

Blue Phlox
Wild Rose


I started with a Darice twig wreathe with a 6” diameter.  I used the following dies to create the wild rose: Spellbinders Rose Creations and Foliage.  To create the blue phlox I used:  Heartfelt Creations Vintage Floret and Spellbinders Foliage.  The stamens were created from the Sizzix Flower, Gazania.  I carried in samples of the flowers from my yard and matched card stock from my paper stash to the color of the flower.  For the wild rose I inked the center of the flower with Tsukineko Versa Magic Cloud White and heat embossed with white embossing powder.  The edges were inked with Tsukineko Versa Magic Perfect Plumeria.  I snipped between the petals before shaping the flowers around the stamens.  The stamens for both flowers were shaped or rolled and glued before adding Recollections Banana Flocking to the ends.  The blue phlox were inked with Tsukineko Versa Magic Night Sky and a Fantastix bullet tip.  The edges were inked with Tsukineko Versa Magic Purple Hydrangea.

The flowers stems were arranged around the twig wreathe and hot glued into place.  I added Super Moss around the stems.  The flowers were adhered to the stems with hot glue. 

I enjoyed making the nature inspired flower wreathe to remind me of the early summer season around my home.  Come join us over at Anything But a Card and share your creation that is inspired by being Out and About!

I would like to enter this project in the following challenges:
Ladybug Crafts Use your dies
Allsorts Week 315 Flower Power
The Crafter's Cafe Challenge #120 Anything Goes

Selected as a winner at:
As You Like It Challenge Favorite Flower
The wild rose is one of my favorite flowers because of it's beautiful fragrance!


Thursday, June 11, 2015

50th Wedding Anniversary Card


Not only is it wedding season, but that also makes it anniversary season too!  We have extended family that is celebrating their 50th Anniversary this year, a big one!  I had fun digging out scraps and dreaming up a themed card for them.  I started with the sketch challenge over at Techno Stamper.


Cream card stock is trimmed to 10” x 7” and folded in half for the card base.  Spellbinders Labels Twenty-Two is die cut from cream card stock and the large “50” by Recollections Big One image is stamped in Tsukineko Brilliance Galaxy Gold and heat embossed with clear embossing powder.  Technique Tuesday’s Say It happy stamp and die set also stamped in Tsukineko Brilliance Galaxy Gold and heat embossed with clear embossing powder complete the sentiment.  The “happy” is die cut from Canson Gold card stock as is the Spellbinders Decorative Labels Twenty-Two. 

The patterned embossed paper is from a Costco paper pack and is trimmed to match the sketch.  The bottom layer is a DCWV gold card stock.  All the layers are adhered together.  The “happy” die cut is adhered with my favorite small die cut glue, Sakura’s Quikie Glue. 

I would like to enter this card into the following challenges:

Wednesday, June 10, 2015

Teacher Thank You Card


School may be out in most of the US, but here on the West Coast we are finishing our last week of school this week!  Yeah for the kids and teachers.  My younger son had a fabulous teacher this year, my favorite one of his 4 years.  They really connected and he had a great team to work with for his reading and math challenges.  I sat down and made Thank you cards for the teachers on his team.


This is an A2 sized card, the white card stock is trimmed to 4 ¼ x 11” and then folded in half to make a tent card that will stand up on the teacher’s desk.  The school colors for his school are green and white, so I used Coordinations Black Magic in light green and trimmed it to 4” x 5 ¼”.  Cuttlebug Thanks embossing folder pressure embossed the sentiment into the card stock and then it was sanded to bring out the raised areas. 

Technique Tuesday’s School Seal and Seal Companion – Star are stamped on white card stock with Tsukineko Memento Luxe Love Letter and heat embossed with clear embossing powder.  The images were fussy cut and adhered together.   The textured background is adhered to the card base and the seal is adhered with dimensional foam adhesive.  This is a quick and easy CAS thank you card!  I made 4 of these cards in about 30 minutes and they were ready to use and send to school with my son. 

I would like to enter the following challenges, all anything goes as it seems thank you cards and teacher cards are not in season?  :)

Tuesday, June 9, 2015

Retro Rubber Blog Challenge #16 Tie It on Birthday Card


We have another fun challenge over at Retro Rubber for the next two weeks.  Tie It On with twine or ribbon.  Please remember to use your Retro Rubber that is more than a year old, and tell us how it came to join your collection and when if you can remember!


My Dad is turning 89 this year!  So I created a masculine seascape birthday card to celebrate the occasion. 


 The stamp images are all from Art Impressions, purchased sometime in the early 2000’s.  If you like the images they are still available!  The forefront images are stamped first in Tsukineko Memento Tuxedo Black on cream card stock and then masked.  Create a mask by stamping the image on a post-it note.   Fussy cut the image just inside the most exterior line.  This prevents a blank shadow where the images met while stamping.  The background is stamped over the top of the masks.  The images are colored with Decorator Chalks; a quick and easy way to color and add shading.


The frame is made by pressure embossing craft card stock with Craftwell Teresa Collins Woodgrain Cottage and inked with Tsukineko StazOn Saddle Brown.  The largest size of Coluzzle was used to cut the inner portion of the frame with the exterior edge as the guide to cut the outside edge.   The corners of the card were rounded with the old Creative Memories corner rounded.  The frame was adhered into place over the images on the card stock.   

Sizzlets Tag, Oval was used to die cut the back from the wood grain card stock and the front from cream card stock.  Boxer Scrapbooking sentiment is stamped in Tsukineko Memento Tuxedo Black.  The tag had one hole so a second tag was die cut and placed over to punch the second hole.  Darice Hemp cord #20 is looped through the holes and the tag is adhered with dimensional foam adhesive the background.  The tag is adhered in place on the card for the finishing touch.

Come on over to Retro Rubber Challenge Blog and join in the fun with ribbon or twine and a retro stamp!

I would like to enter this card in the following challenges:

Monday, June 8, 2015

Congrats Grad Card #3


This is the third of the graduation cards I have created in the last week.  This one is for a special niece so a feminine touch seemed to be appropriate with the heart patterned paper.  


This is an A-6 size card that was inspired by the challenge over at Time Out Challenges CASE card.  My version features the Technique Tuesday’s Grad set.  Both the image and sentiment are stamped with Tsukineko Versa Magic Cloud White ink on black card stock and heat embossed with white embossing powder.   The "Congats Grad" was colored with Chameleon Pens RD4 Crimson Red.  (An idea from Splitcoaststampers.)  The top edge is die cut with Spellbinders A2 Scalloped Borders One on a diagonal to match the CASE card.  A second layer of red card stock helped the little stitch line in the die cut show up with out the distraction from the fun black, red, and white patterned paper.     

I would like to enter this card in the following challenges:


Sunday, June 7, 2015

Congrats Grad Card #2


It is graduation season here in Oregon.  We typically don’t start school until around Labor Day, so school is in session and graduations happen in early June.  I like to make the cards in the high school colors of the graduates.  It just so happens that the three I have made thus far this year all use red and black! 


The Sketch Saturday provided a great jumping off point to get this card started and finished quickly!  I do have a stash of red and black patterned papers from the days that I coach a High School Dance Team that was of course . . .  red and black!

This is an A-6 size card to allow room for the image and design.  The image is Technique Tuesday’s Grad, along with the sentiment.  A recent purchase that was a lot of fun to get inky!  Tsukineko Versa Magic Cloud White ink was stamped on black card stock and heat embossed with white embossing powder.  The sentiment is stamped in Technique Tuesday red ink on white card stock.  The patterned papers were trimmed and adhered to black card stock, with each of the layers backed with opposing color card stock.  Quick, easy and ready to sign and present to the graduate!

I would like to enter this card in the following challenges:

Friday, June 5, 2015

June Birthday ATC


It is time for the June version of my ATC (Artist Trading Card) Birthday swap.  When I need to jump-start my creativity I look at the leftovers sitting on my table. I was inspired by the punches from the Tonic Butterfly border punch to make a butterfly ATC.  They were from the card that is in the post from Thursday!


The background is Stamp Out Cute stamp that I have owned since the mid 90’s, purchased unmounted at the Portland Stamp Convention.  It is stamped in Tsukinkeo Versa Mark and embossed with clear embossing powder on Bristol 100 pound paper.  Using a heavier card stock is my preference when working with techniques that involve water.  I colored swatches of the stamped area with Faber Casteel Gelatos in Cotton Candy, Lime, and Guava then spritzed it with water.   I moved the color around with a paper towel and removed the excess from the embossed areas. 

The tiny butterfly confetti is contained in an envelope made from up-cycled plastic bag packaging die cut with Sizzix Card & Envelope Mini Elegant die.  The edges were sealed with Designer Dries Clear Adhesive.  I found that using a cotton swab I was able to apply a very thin layer that dried more quickly, but still it took overnight!  After the butterfly confetti was sealed into the mini envelope, Vellum Glue Dots adhesive was used to adhere the envelope to the ATC.  The final touch is the “Happy Birthday” sentiment by Studio G stamped in Tsukineko StazOn Azure.

I would like to enter this ATC in the following challenges:

Thursday, June 4, 2015

Butterfly Birthday Card


It is time to make a special birthday card for a very special person, my wonderful Mom!  I like playing along with Cardabilities, they have great sketches.  Here is my take on this fortnight’s sketch.

  
I flipped the sketch on it’s side to accommodate the wonderful Tonic butterfly border punch.  I used a scrap of paper from the Basic Grey Lily Kate line for the bottom section and some textured handmade paper for the top.  The blue card stock is punched with the Tonic butterfly border punch and the purple card stock is punched with the EK Success mini scallop punch.  The layers are then adhered to the front of the lime green card stock base. 

Spellbinder’s Classic Scalloped Circle Small die cut the purple with silver embossed dots paper.  Spellbinders Bitty Blossoms were die cut out of coordinating pink, purple, and blue card stock.  The blossoms were inked with Tsukineko Versa Magic Spring Pansy, Purple Hydrangea, and Night Sky.  Heartfelt Creations die sets Chateau Gate, Cut Mat Creat 1B and 2A provide the greenery sprigs die cut from lime green card stock.  The greenery was inked with Tsukineko Versa Magic Spanish Olive.  The butterfly is form Cheery Lynn Designs Exotic Butterfly Small #2 backed by Small Angel Wings.  The purple background was inked with Tsukineko Versa Magic Purple Hydrangea and the lime green die cut is inked with Tsukineko Versa Magic Spanish Olive.  The die cuts were shaped and adhered with a combination of glue dots and dimensional foam adhesive.  The “happy birthday” sentiment is one of my first 4 x 4 dies made by Quickutz.  It is fun to use one of my oldest dies! 

I hope this card helps my Mom enjoy a special birthday!  I love you Mom!

I would like to enter this card in the following challenges:


Tuesday, June 2, 2015

Mr. & Mrs. Wedding Card


Once I decided on a sketch for this sweet clean and simple wedding card I was good to go! 


I started with cream card stock and die cut the heart shape from the Hero Arts Stamp & Cut “Yes” set.  The image is stamped in Tsukinkeo Memento Luxe Love Letter and the edges of the heart were inked.  I traced the die's outer edge and fussy cut a mask to stamp the background image behind the heart on to the card base.  Unity Stamp Company’s “Love Is” heart stamp is stamped over the mask.  The “Congratualtions” is by Boxer Scrapbooking and is stamped in Tsukineko Memento Tuxedo Black. 

The pennants are die cut using Spellbinders Nested Lacey Pennants, then pressure embossed with Quickutz mini hearts embossing die.  The raised hearts are inked with Tsukinkeo Memento Luxe Love Letter.  The pennants are folded over a length of red and white bakers twine, which is adhered to the front of the card.  The “Mr. & Mrs.” Heart is adhered with dimensional foam adhesive. 

I would like to enter this card in the following challenges:

Retro Rubber Blog Challenge #15

The theme this fortnight at Retro Rubber Blog Challenge is to create a vintage feel card and/or incorporate lace.  You still have one more week to play along.  You can go to this post to see my interpretation of the challenge.


Come join the fun at Retro Rubber Blog Challenge and show us what you can create using vintage lace!  The rules are simple:  follow the current theme AND use your retro rubber (more than a year old).   We like reading about your retro rubber and why it needed a little love for each challenge.

Monday, June 1, 2015

Celebrate Grad Card


We are sending a few cards out this week, so I needed to get busy and decided to go Clean and Simple and try my hand at a few challenges.  


This card went together very quickly!  I started with a Yvonne Albritton Grad Cap image stamped in Tsukineko Memento Luxe Tuxedo Black on red card stock and heat embossing with clear embossing powder.  The image was die cut with Spellbinder’s Standard Circle Large.  Black card stock was pressure embossed with Sizzix Diamond embossing folder and adhered to an A-2 size white card.  Two sections of “Celebrate” ribbon were adhered with glue dots to the back of the circle die cut before adhering with dimension foam adhesive.   I like to send graduation cards in the school colors of the graduate, which is usually apparent by the graduation announcement. 

Thanks for stopping by!  I would like to enter this card in the following challenges: